GitHub hid Repository
4 minute read
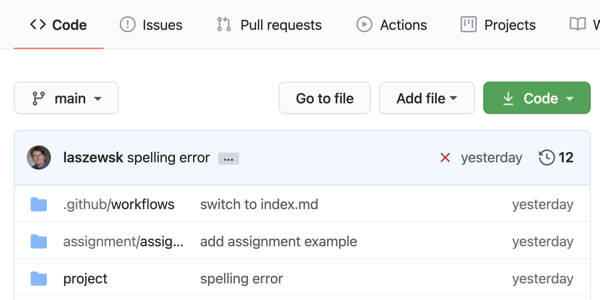
Figure 1: GitHub hid directory.
To contribute to our open source projects we provide you with a Git repository in which you conduct your activities.
Learning Objectives
- Learn how to cone the repo
- Learn how to use the rego
- Learn how to commit and push changes to GitHub
Topics covered
1. Introduction
As part of our open source activities, you will be given a GitHub repository. To contribute to our open source projects we provide you with a Git repository in which you conduct your activities.
We will explain how you use them from the command line.
2. Prerequisites
- On macOS we assume you have x-code installed which comes with the git command
- line tools On Windows we assume you have gitbash installed and use git
- through gitbash. Alternatively, you can use multipass, or WSL2 On Linux, make
- sure you have the git command line tools installed.
3. Setting up the ssh-key
In case you have not yet set up an ssh key, you can do this with the command.
$ ssh-keygen
YOu will be asked for the default location, accept it. After that, you will be asked for a passphrase. Please choose one and make sure you do not make it empty. Often you find wrong tutorials or guidance by others that say you can leave it empty. DO NOT FOLLOW THEIR WRONG ADVICE.
Upload the content of the file
$ cat ~/.ssh/id_rsa.pub
Into the GitHub portal at https://github.com/settings/keys.
You will then use the SSH key to authenticate to GitHub.
To not always have to type in the password you can use ssh-keychain.
On Mac OS you can simply use the command
$ ssh-add
and enter your password
4. Simplify the Tutorial while using Shell Variables
To simplify the tutorial we use from here on two shell variables. The first is
HID which specifies the name of your GitHub repository as found in
In our case, we use hid-example. The second variable is the name/path of the
editor in which we edit commit messages for git.
$ export HID=hid-example
$ export EDITOR=emacs
5. Cloning the Repository
Let us now clone the repository, change int the checked out repository and edit the project file.
$ git clone git@github.com:cybertraining-dsc/$HID.git
$ cd $HID/project
$ $EDITOR index.md
Now let us make a modification and save the file locally.
6. Commit Changes Locally
To commit the changes locally, you use the following command. Make sure to put a commit message and specify the filename.
$ git commit -m "Improved document with this and that" index.md
7. Adding Files
To add new files you can simply use the add command and use the commit command after it.
$ git add image/newimage.png
$ git commit -m "Improved document with this and that" image/newimage.png
8. Push the commits to GitHub
GitHub as you know is a service that stores your files once you push them from your local commits to GitHub. To push the commits use the command
$ git push
8. Pulling Changes
GitHub shines when you work with multiple people together on your projects. This may be project partners or feedbacks that are placed in your documents by us. Thus, it is important that you state in synchronization with the files in GitHub. Do this use the command
$ git pull
in any directory of the repository that you have checked out. It will update any file that has changed. In case of a conflict, your file will include a text such as
<<<<<<< HEAD
This is the new text from you
=======
This is the text in the repo
>>>>>>>
You will have to remove the text between the «< and »> and replace it with the text that is correct. In the simplest case, one of the choices will be correct. However, you may have in some cases to merge the two versions.
It is important to pull frequently. It is also important to not just paste and copy the entire file, but use the command line tools and editor to conduct the change as not to overwrite other changes.
7. Conclusion
The use of git from the command line is straightforward for existing
repositories. It is easy to do. Make sure to create an ssh-key and start in
synchronization with frequent pulls.